 how-to
Automotive Ignition Repair Service Guide: Step-by-Step
Table of Contents
- Recognizing the Signs of a Bad Ignition Lock Cylinder
- Safety First: Battery Disconnection and Vehicle Identification
- Ignition Switch Repair Tools and Diagnostic Procedures
- Step-by-Step Automotive Ignition Repair Instructions
- Ignition Switch Replacement Cost: What to Expect
- Post-Repair Calibration and Preventative Maintenance
- When to Call a Professional for Automotive Ignition Repair
- Frequently Asked Questions
Last Updated: September 23, 2026
Recognizing the Signs of a Bad Ignition Lock Cylinder
An ignition lock cylinder is the rotating barrel inside the steering column that accepts your key and controls the electrical switch behind it. When it wears out, you feel it before you see it.
A common mistake is blaming the battery for a no-start. In practice, a failing lock cylinder gives you clear warnings first:
- The key sticks or grinds when you turn it
- The key only works in one position
- The steering wheel locks with the key inserted
- The key pulls out while the engine runs
- The dash lights flicker as you turn the key
Spotting these symptoms early usually means a repair, not a tow.
Safety First: Battery Disconnection and Vehicle Identification
Before any automotive ignition repair, disconnect the negative battery terminal. This one step prevents airbag deployment, shorts, and burns.
Start by identifying your vehicle. Write down the year, make, model, and engine size. Then check these points:
- Confirm the VIN on the dashboard or door jamb
- Note whether the column has a tilt or telescoping feature
- Check if the vehicle uses a transponder key or push-button start
Pull the key out, then loosen the negative cable with a wrench and tuck it aside so it can't touch the post.
Ignition Switch Repair Tools and Diagnostic Procedures
The right ignition switch repair tools turn a frustrating job into a straightforward one. A basic setup covers most vehicles.
Gather these tools:
- A digital multimeter with at least 10 megohm input impedance and a 10-amp DC current range
- A set of trim removal tools
- Torx and Phillips screwdrivers
- A steering wheel puller
- An automotive scan tool that reads live data, not just codes
- A test light and a fused jumper wire for bypass checks
- Dielectric grease and electrical contact cleaner
Using a Multimeter on an Ignition Circuit
Most guides tell you to "test the switch" without explaining how. Here is the procedure that works on the majority of 12-volt negative-ground systems.
Voltage drop test (key in RUN, engine off):
- Set the meter to DC volts, 20V range.
- Backprobe the battery positive post and the ignition switch input terminal. A reading above 0.5V indicates resistance in that leg.
- Move the black lead to the switch output terminal that feeds the ignition circuit. Compare to battery voltage. A drop greater than 0.5V across the switch means the contacts are pitted.
Continuity test (battery disconnected):
- Set the meter to the audible continuity or ohms setting.
- Identify the start and run terminals from the wiring diagram, not from guesswork.
- Turn the key to START and confirm continuity between the battery feed and the starter solenoid terminal. Repeat in RUN for the ignition feed.
- An open reading in either position confirms a failed switch.
Parasitic draw check (key off, doors closed, modules asleep):
- Set the meter to DC amps, 10A range, and move the red lead to the 10A port.
- Disconnect the negative cable and place the meter in series between the cable and the post.
- Wait 30 to 45 minutes for modules to sleep. A reading above 50 milliamps points to a circuit that is staying live, often the ignition switch or a relay it feeds.
Diagnostic Order That Saves Time
Test in this order so you do not replace a good part:
- Check battery voltage at rest (12.6V) and under load (above 9.6V while cranking)
- Test the ignition switch terminals for voltage drop
- Run a continuity test on the primary circuit
- Inspect the ground circuit for corrosion at the engine block and chassis
- Scan for stored codes before you remove anything
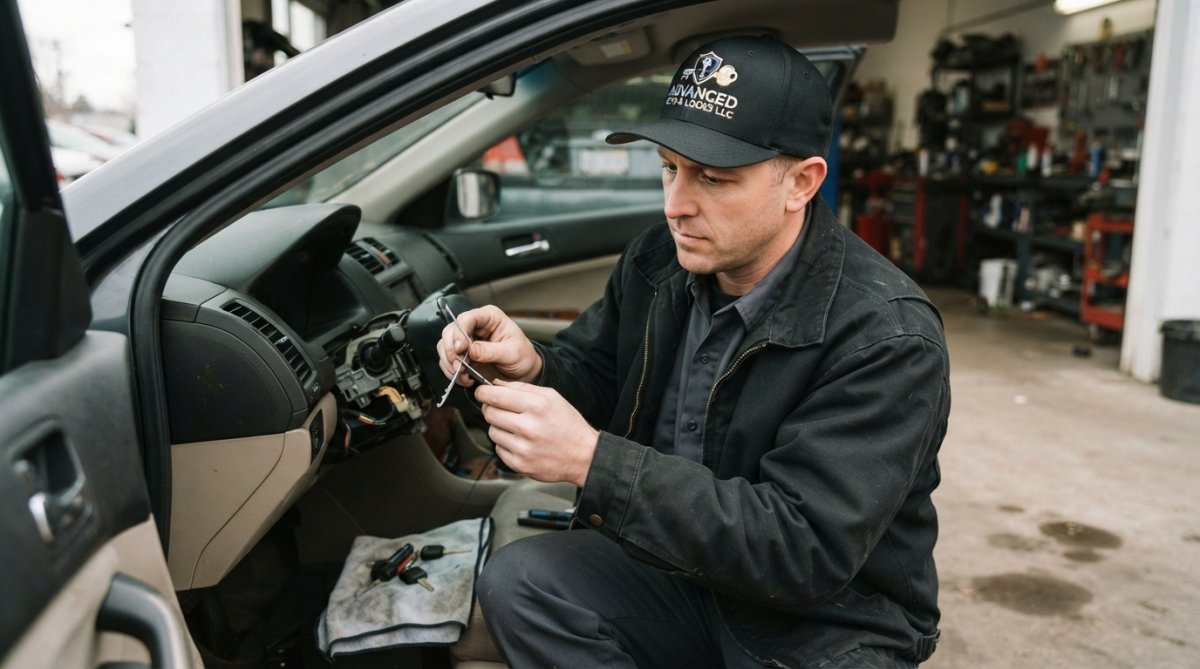
Step-by-Step Automotive Ignition Repair Instructions
Follow these steps for a typical lock cylinder or switch replacement.
- Disconnect the negative battery cable and wait
- Remove the steering column trim with trim tools
- Unplug the electrical connector from the ignition switch
- Remove the lock cylinder retaining pin or screw
- Pull the old cylinder and switch free
- Install the new cylinder and reconnect the switch
- Reconnect the battery and test all key positions
Accessing OEM Service Manuals and Wiring Diagrams
An OEM service manual is the factory repair guide your vehicle's maker publishes for its own technicians. It shows exact torque specs, wire colors, and connector pinouts that generic guides leave out.
| Repair Step | Time | Tool Needed |
|---|---|---|
| Battery disconnection | 5 min | Wrench |
| Trim removal | 15 min | Trim tools |
| Switch testing | 20 min | Multimeter |
| Cylinder replacement | 45 min | Puller, screwdrivers |
| Reassembly and test | 20 min | Scan tool |
Ignition Switch Replacement Cost: What to Expect
Ignition switch replacement cost depends on the vehicle, the part, and who does the work. Parts range from basic switches to coded, transponder-linked units that cost more.
Three factors drive the total:
- The part itself, which varies widely by make and model
- Labor time, which longer jobs push higher
- Programming, needed when the new switch pairs with an anti-theft system
Post-Repair Calibration and Preventative Maintenance
Post-repair calibration is the step most guides skip. After a switch or cylinder swap, many vehicles will not start until the anti-theft system accepts the new part. Skipping this step is the number one reason a DIY ignition repair "fails" on the first crank.
Relearn Procedures by System Type
The procedure depends on which anti-theft system your vehicle uses. Check the OEM service manual for the exact sequence, but these are the common patterns.
Passive Anti-Theft System (PATS), common on Ford and Lincoln:
- Connect the scan tool and enter the security menu.
- Select "Parameter Reset" or "Module Initialization."
- Cycle the key from OFF to RUN within the time window the tool displays.
- Wait 10 minutes for the security light to stop flashing, then start the engine.
Vehicle Anti-Theft System (VATS), common on older GM products:
- Insert the new key and attempt a start.
- Leave the key in RUN for 10 minutes when the security light stays on.
- Turn the key off for 5 seconds, then repeat two more times.
- On the fourth attempt the system accepts the key and the engine starts.
Transponder and push-button systems:
Drive Cycles and ECU Resets
Some modules need a drive cycle before the readiness monitors clear. A typical cycle is:
- Cold start, idle for 2 minutes
- Accelerate to 40 mph at half throttle for 3 minutes
- Decelerate to 20 mph without braking for 30 seconds
- Idle for 2 minutes, then shut off
Preventative Maintenance
Preventative maintenance keeps the new part healthy:
- Never hang a heavy key ring from the ignition. The weight wears the cylinder and the switch contacts.
- Lubricate the lock with a dry graphite product, not oil. Oil attracts dust and gums up the pins.
- Fix a stiff key early. A worn key can damage a fresh cylinder in a matter of weeks.
- Replace the key at the same time as the cylinder if the old key shows visible wear.
When to Call a Professional for Automotive Ignition Repair
Call a professional when the job involves the steering column, airbag, or anti-theft programming. These systems carry real risk if handled wrong.
Reach out to a pro if you find:
- A steering column with airbag components
- A transponder or push-button system needing programming
- A broken key stuck inside the cylinder
- Wiring damage or a melted connector
Frequently Asked Questions
What are the common symptoms of a failing ignition switch?
Common signs include the engine cranking but not starting, the car stalling while driving, and electrical components like the radio or dashboard lights flickering. You might also experience a 'crank no-start' condition or find the key gets stuck in the cylinder. If you notice any of these signs, it's best to have the ignition system diagnosed by a professional to avoid being stranded.
Can I replace an ignition lock cylinder myself?
Replacing an ignition lock cylinder is a complex repair that requires specific tools and knowledge. While some DIYers with advanced skills can manage it, the process often involves removing the steering wheel and airbag, which can be dangerous if not done correctly. Additionally, many modern vehicles require a relearn procedure with an automotive scan tool after replacement, making professional service a safer and more reliable option.
How much does professional ignition repair typically cost?
The cost of ignition repair varies based on your vehicle's make and model, the specific part that failed, and labor rates. For an accurate quote, it's best to consult a certified locksmith or mechanic. At Advanced Keys & Locks LLC, we provide upfront pricing with no hidden fees, so you know the cost before we begin. Get a quote on our website for your specific situation.
Is it safe to drive with a faulty ignition switch?
No, it is not safe to drive with a faulty ignition switch. A failing switch can cause your engine to stall unexpectedly while driving, which can lead to a loss of power steering and braking. It can also prevent your car from starting altogether. For your safety and to prevent further damage to your vehicle's electrical system, have the issue repaired immediately by a qualified professional.
A failed ignition leaves you stranded, and a rushed repair can make it worse. Advanced Keys & Locks LLC offers 24/7 emergency automotive service, upfront pricing with no hidden fees, and certified, insured technicians who handle ignition repair, key fob programming, and lockouts in one visit. Get a quote from Advanced Keys & Locks LLC and get back on the road with confidence.